Carbon Journal, Day 4
Day 4: Restarting the Cycle
One custom carbon + sensitizer batch down, infinitely more combinations to go! :D
10lbs. of gelatin makes a heck of a lot of carbon tissue!
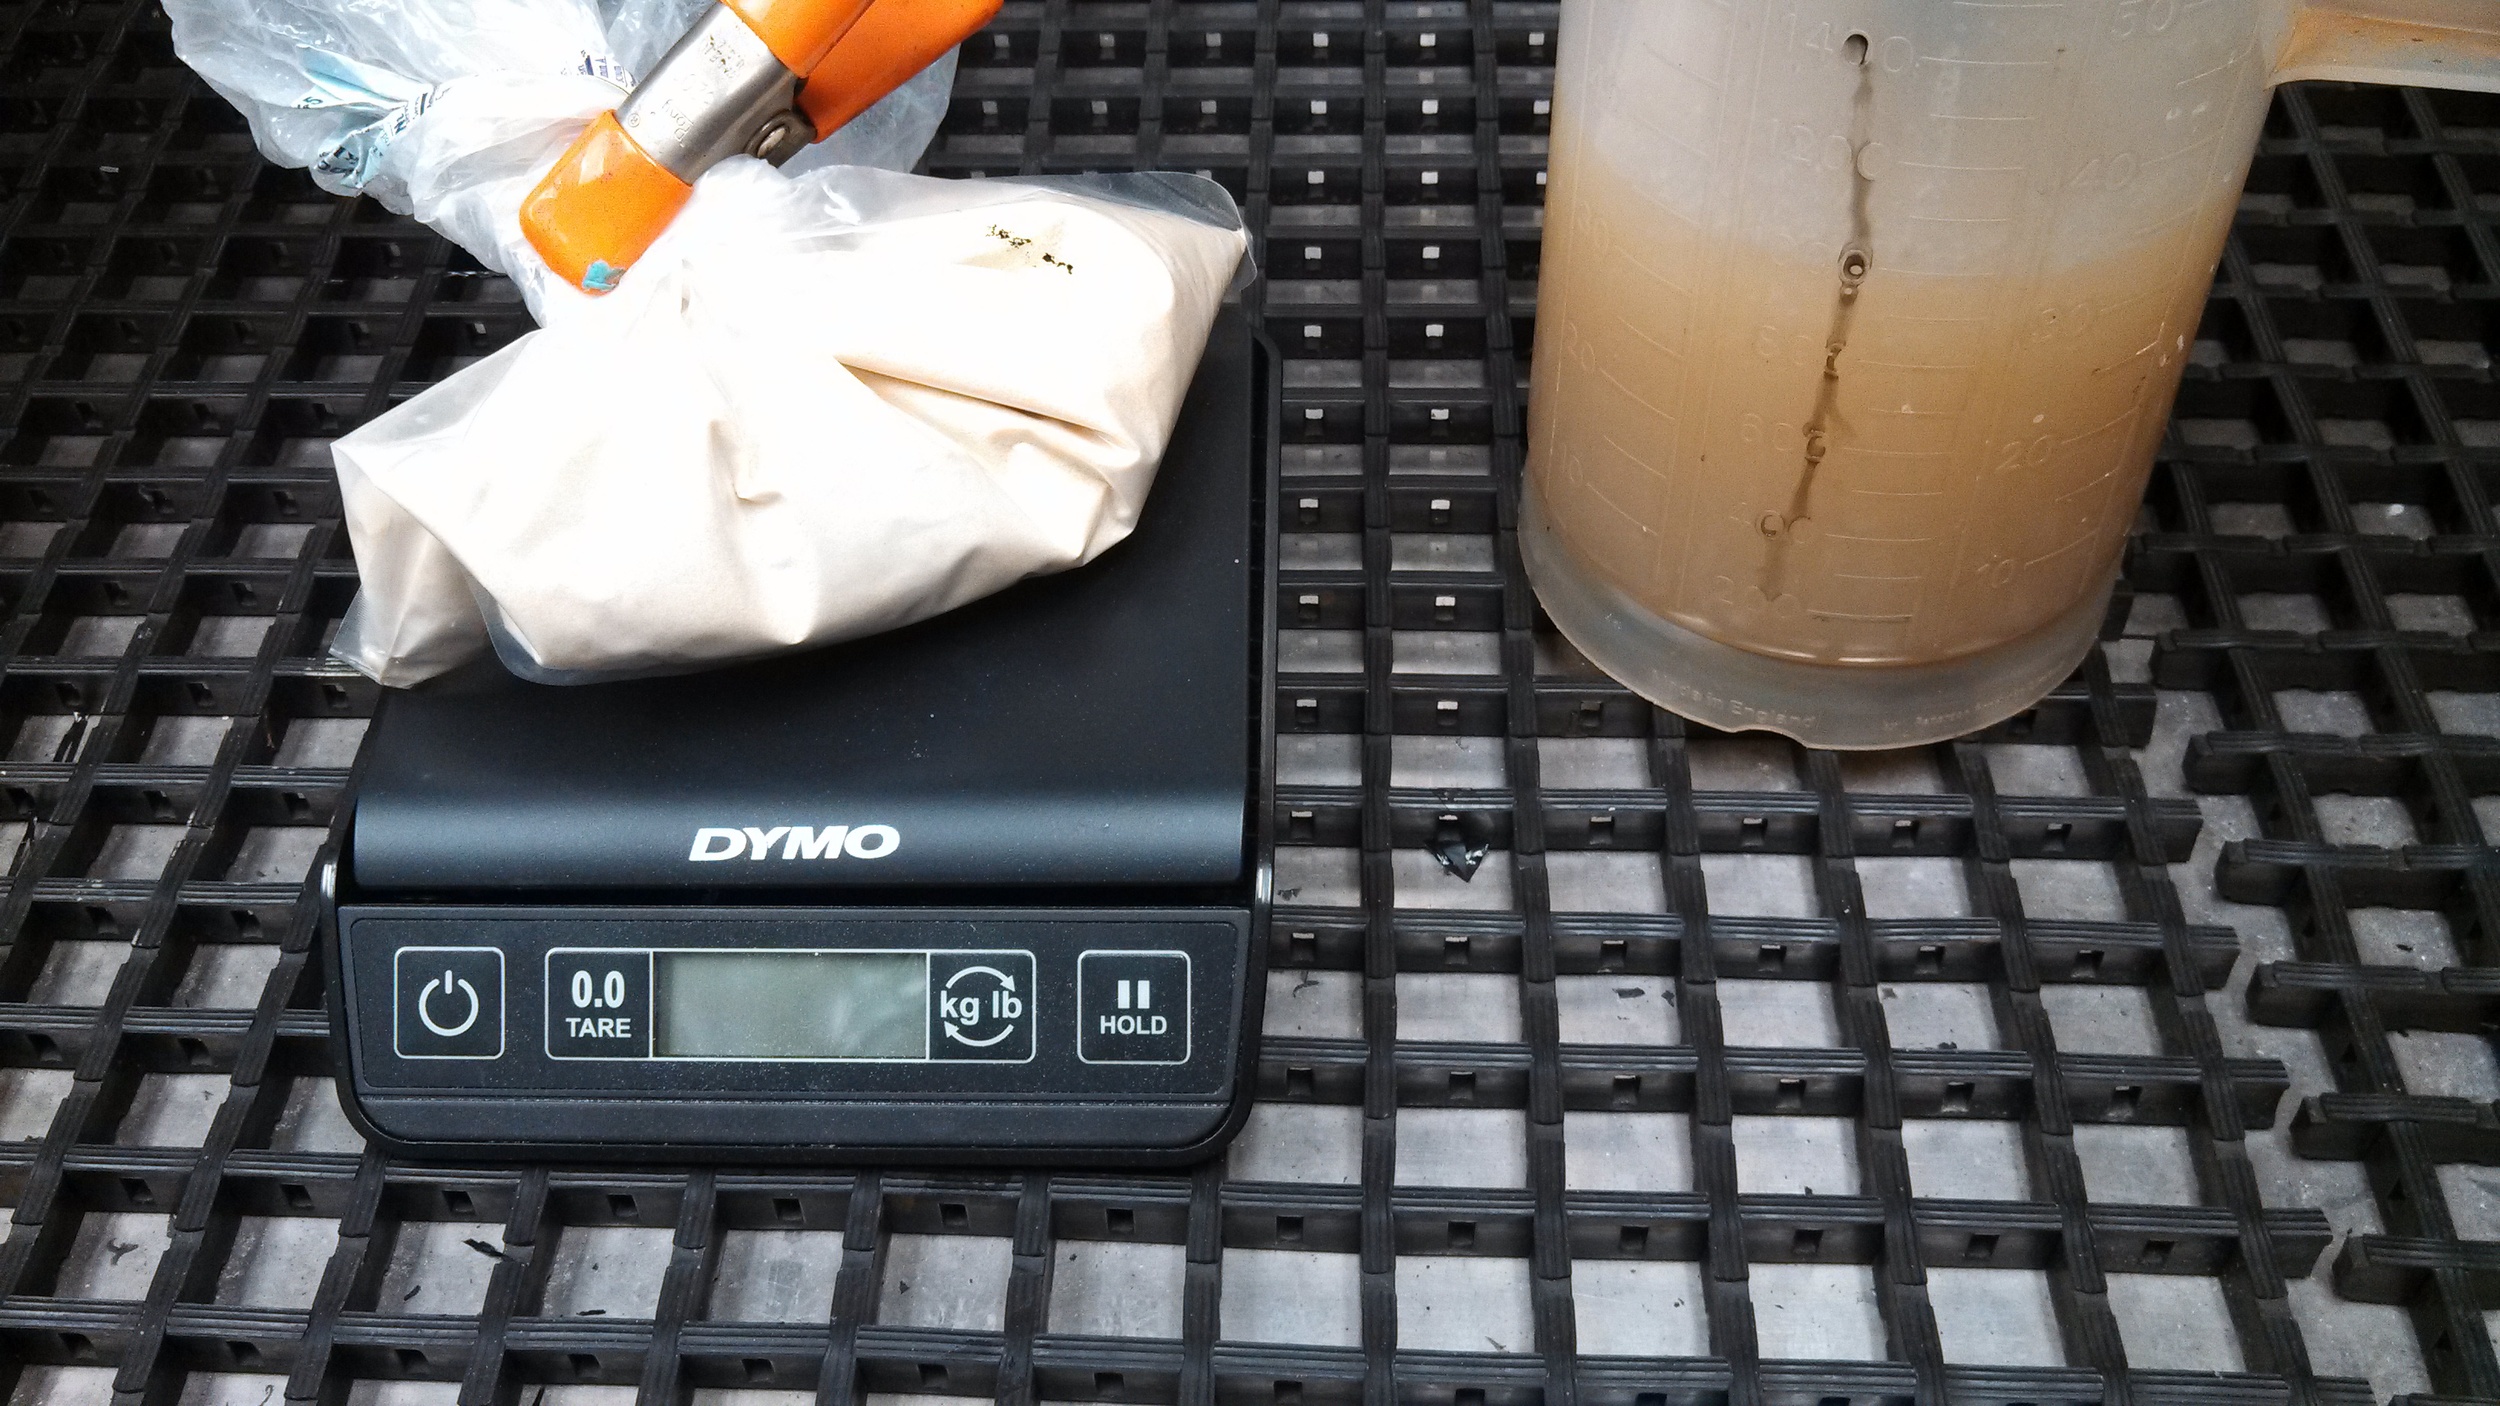
3:45PM - Arrived early to weigh out 150g of gelatin. Brought the solution up to 1.5L volume with distilled water. Letting bloom for 1 hour, this is going to be a LOT of glop!
4:20PM - Pre-weighed sugar, watercolor pigment, and pre-measured Isopropyl alcohol and glycerin.

Not only do I have a sweet tooth, the low RH of the darkroom calls for more plasticity in the tissue. ;)

Left to Right: Black Cat India Ink (pigment), Isopropyl alcohol (removes bubbles), Glycerin (surfacant).
4:47PM - Carbon has now fully bloomed and is starting to resemble a smelly, less-appealing Jello Jiggler. It's still got a long way to go before it can hold a photographic image, so for now, it's off to the hot bath!
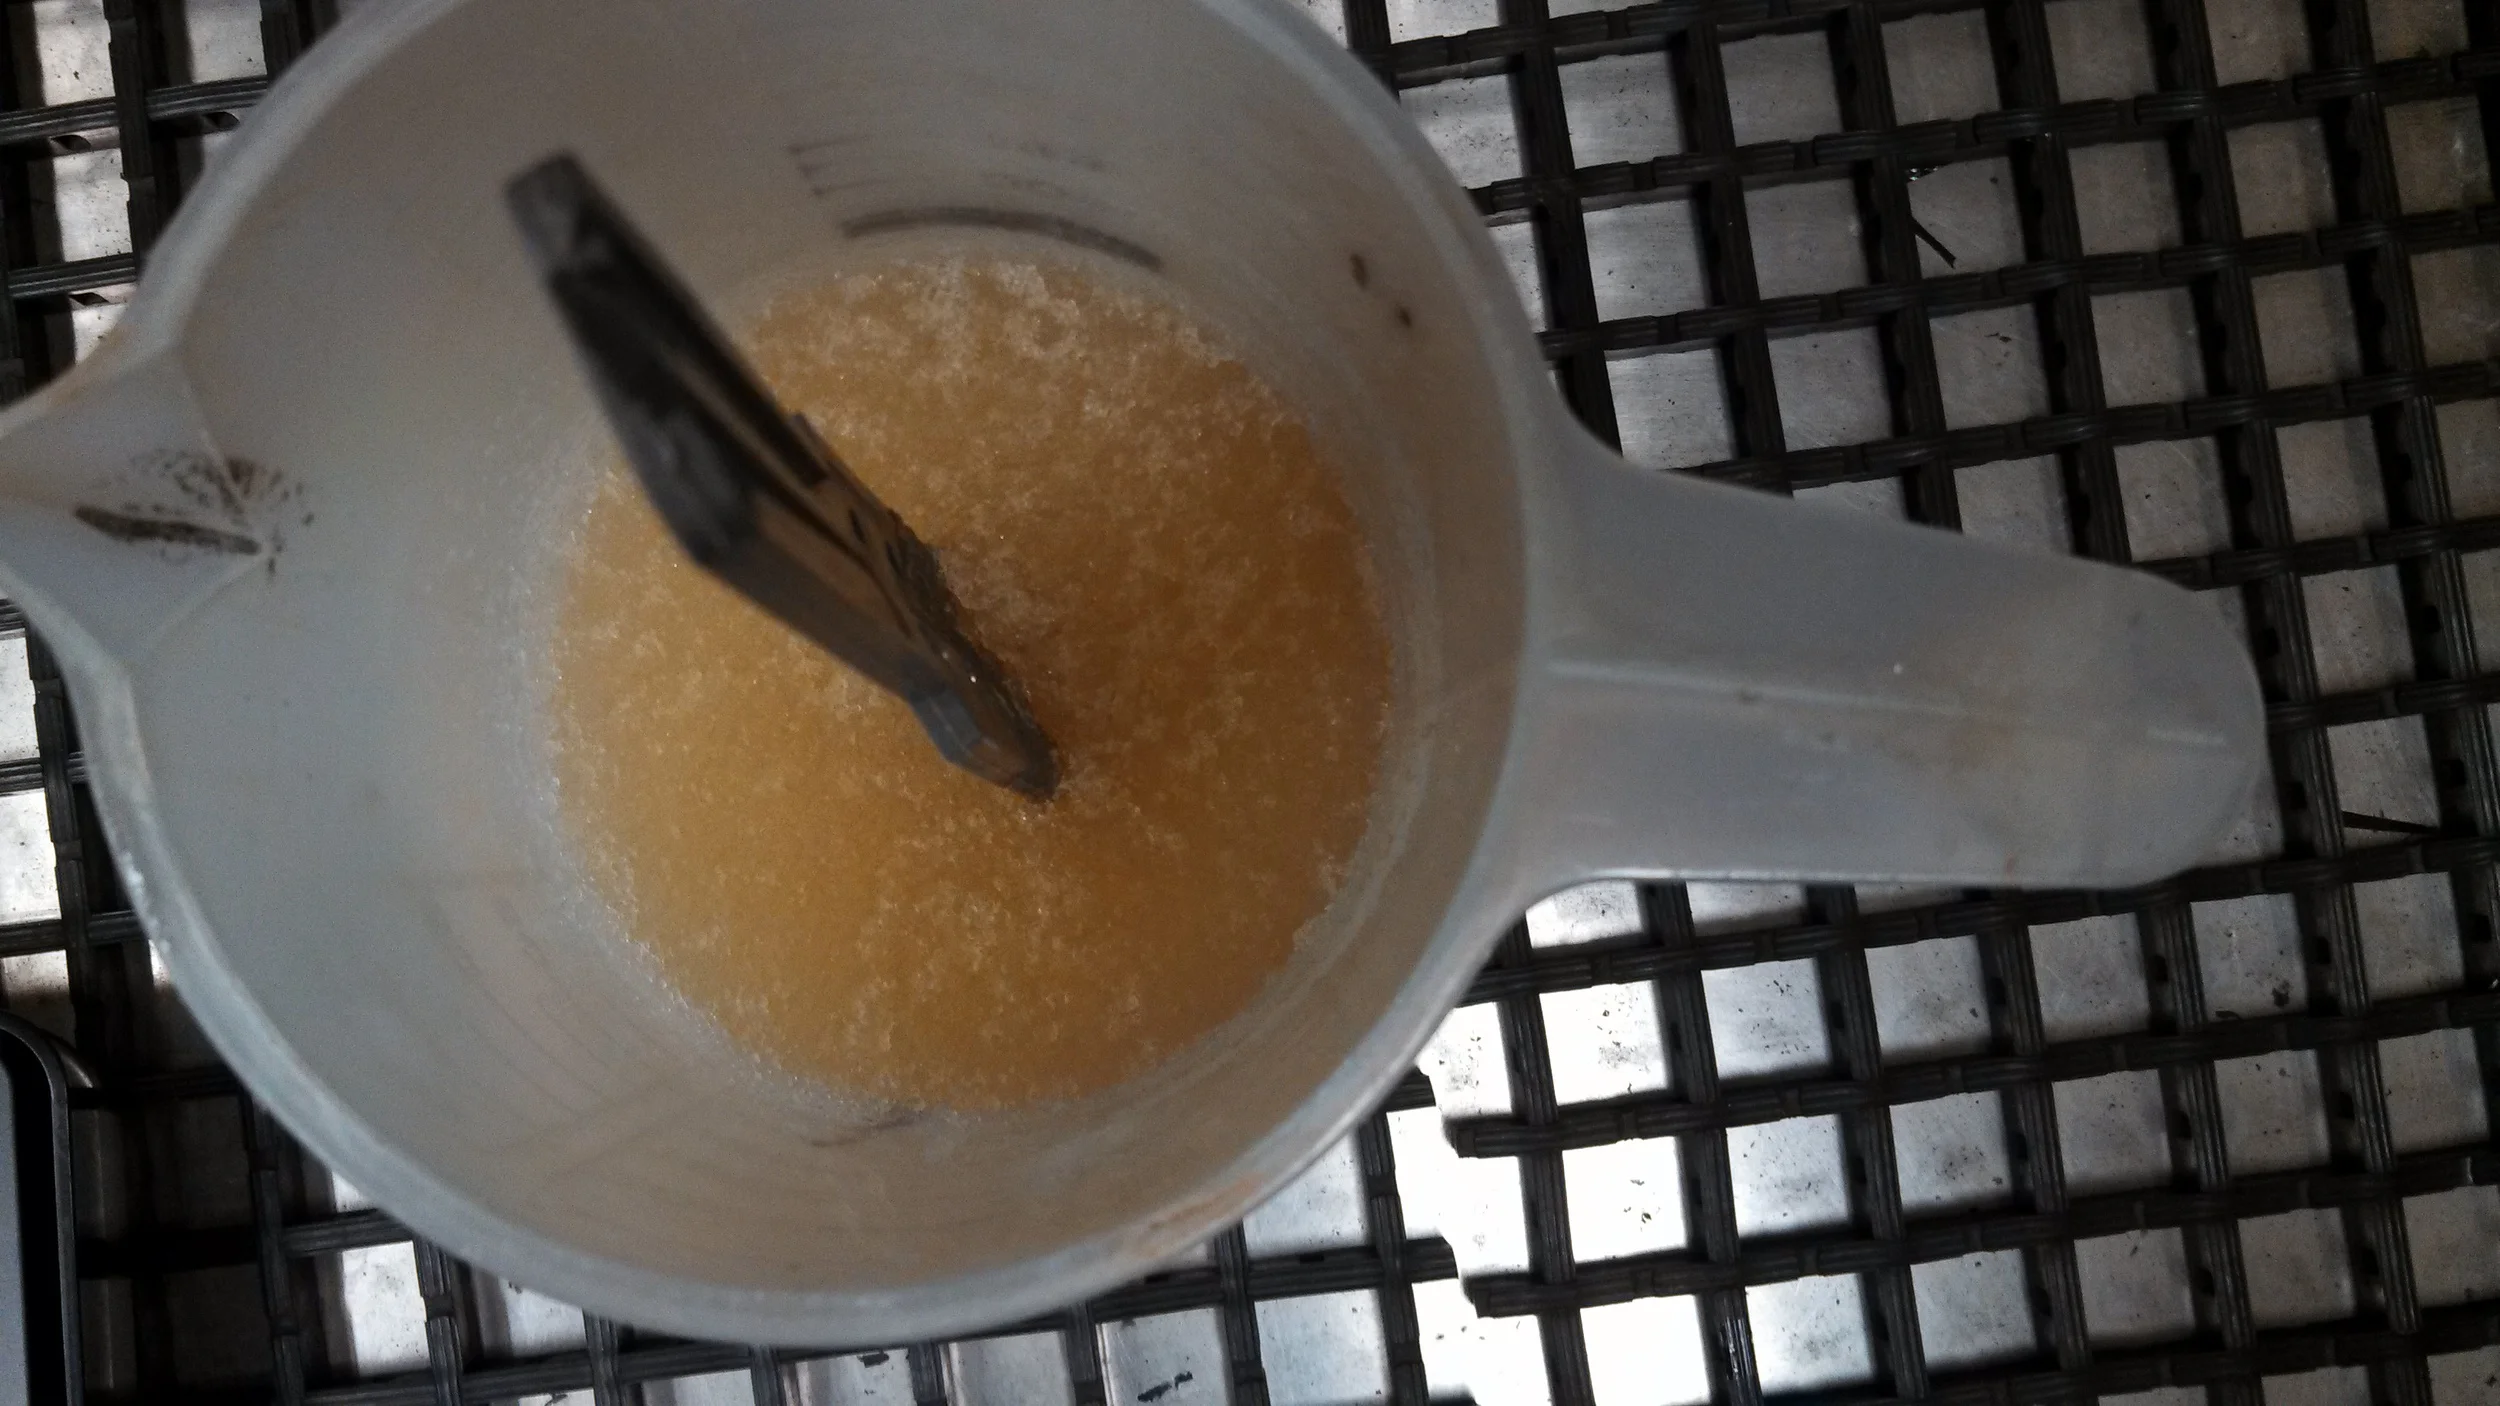
Leaving the stirring handle in the gelatin helps me know when the gelatin is "just right".
5:23PM - Carbon is starting to show signs of melting, releasing many of the trapped air bubbles present when initially mixing.
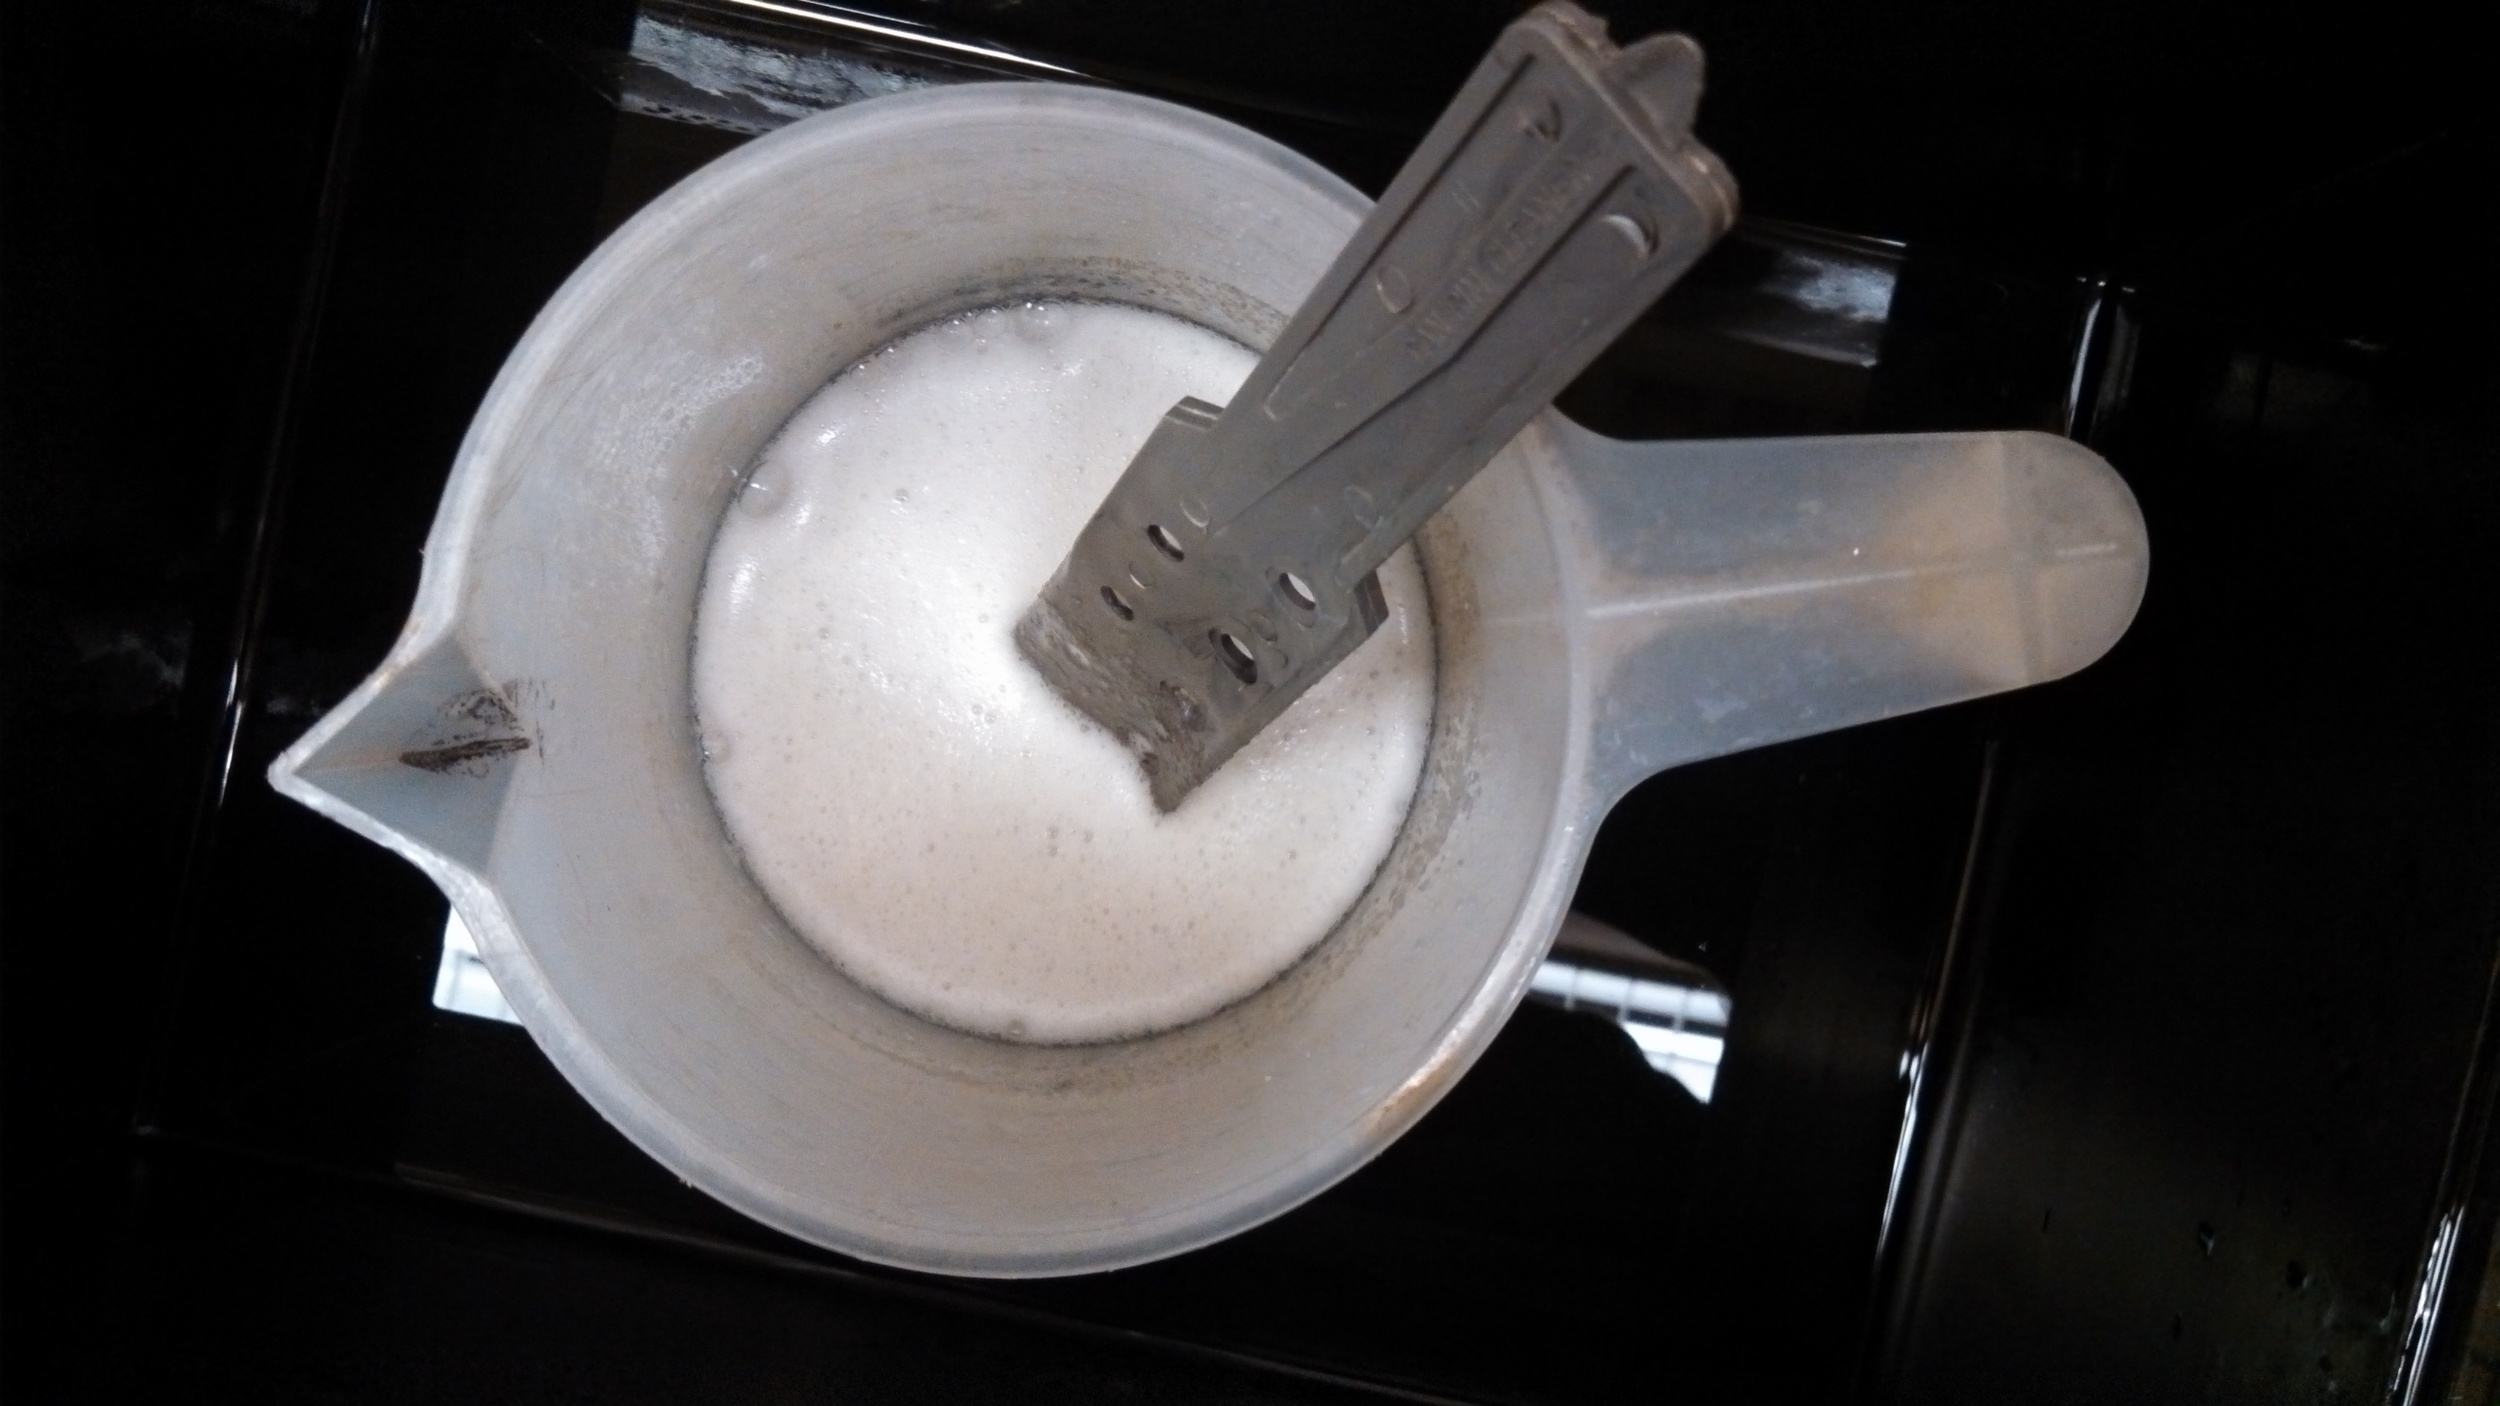
This frothy, still somewhat smelly mess is ready for sugar + pigment!
5:25PM - Watercolor pigment and sugar in stirred in, making sure to evenly disperse both. Glop will now sit for several minutes to heat back up to ~ 105 degrees (F).

Don't worry about those bubbles, they're going away very, very soon.
5:29PM - Glop has now heated up, isopropyl alcohol is stirred in, removing 80% of all visible bubbles instantly. Next, the glycerin is added; this will not only aid in the "gassing out" process, but will also help the carbon tissue remain curl free while drying.

Glop is filtered through an old t-shirt I don't care much for, probably because it's from an ex-girlfriend. ;)
5:35PM - Glop has been filtered into its new container and placed back into a fresh hot water bath. Here it will "gas out" for ~2.5 hours, eliminating micro-bubbles that would otherwise ruin a final carbon print.
8:07PM - After a long dinner break, the glop appears jet black, glossy, and bubble free. Time to pour!
8:18PM - Pouring stations 1-4 assembled, 10x12 x-ray film bathing in warm water, squeegees and sponge ready to get to work.
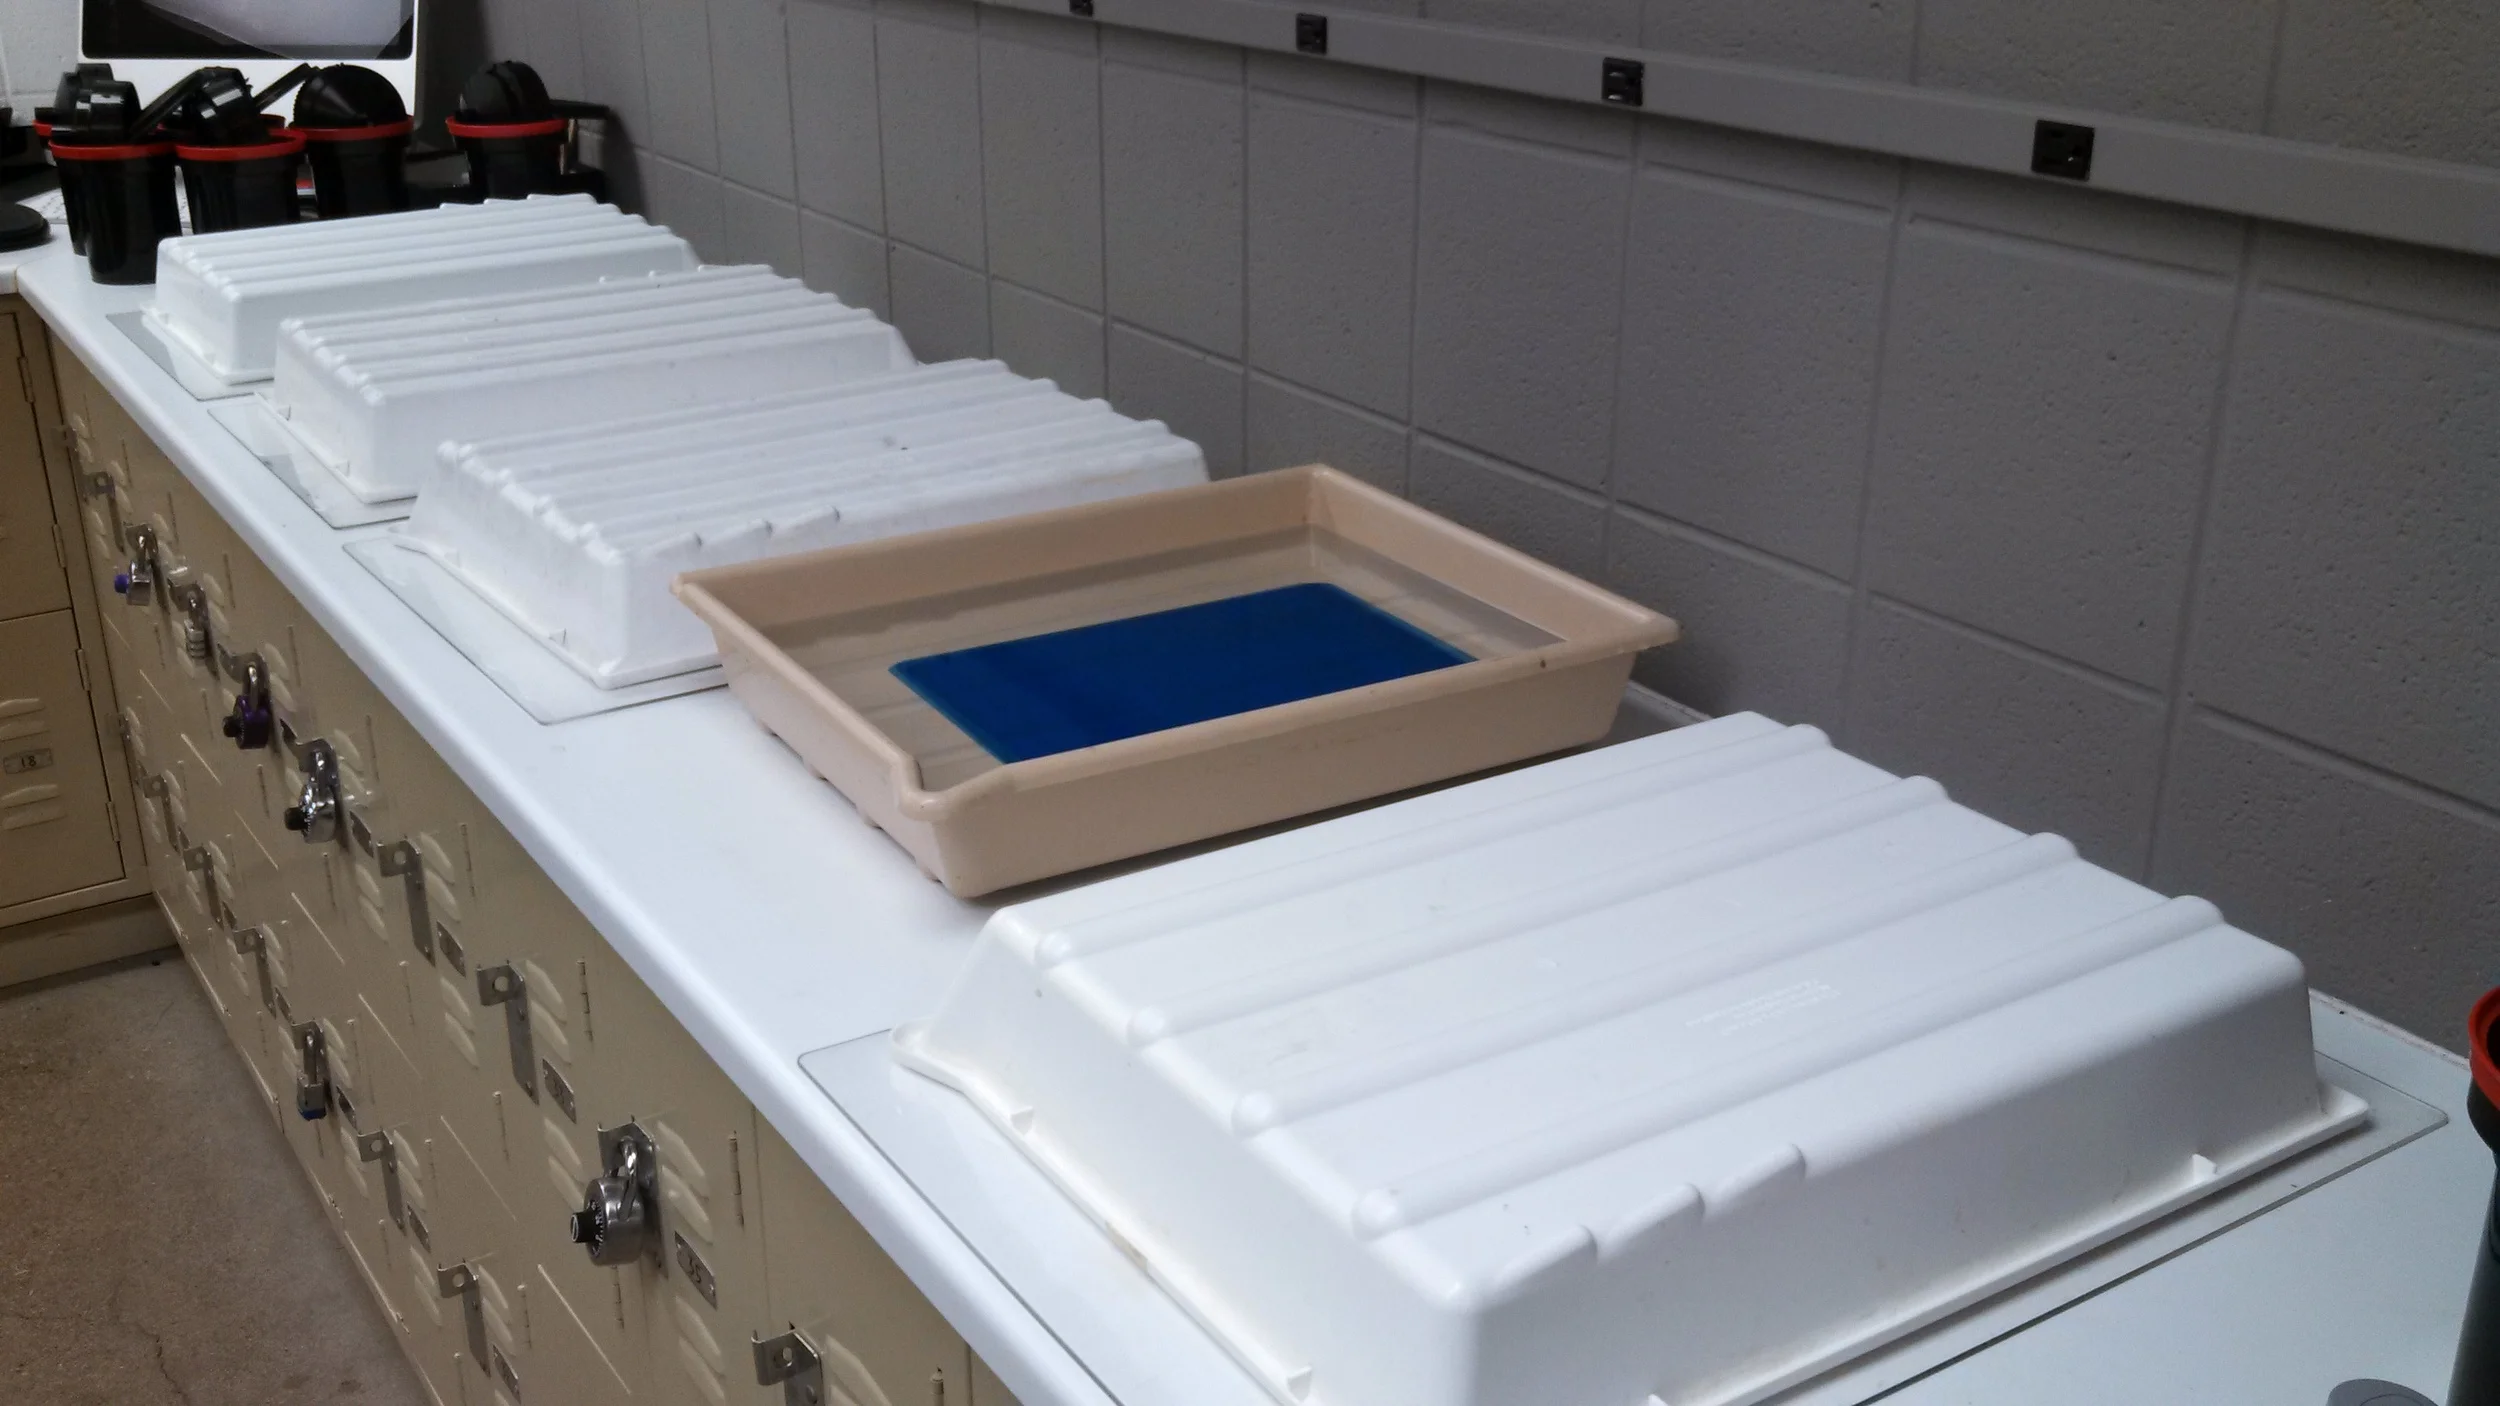
Pouring stations 1-4, with poured carbon cooling off and setting.
8:30PM - First four carbon tissues poured, this time pouring 150ml glop per 10x12 tissue. With new pigment concentration, this should allow for slightly more relief than previous batches (see below).
8:40PM - Tissues 1-4 moved to film drying cabinet, starting to pour tissues 5-8.
8:59PM - The 9th and final tissue is ready to dry, and time to cleanup and head home!

I like my carbon tissues like I like my...umm...let's just say its really nice and thick, OK?!